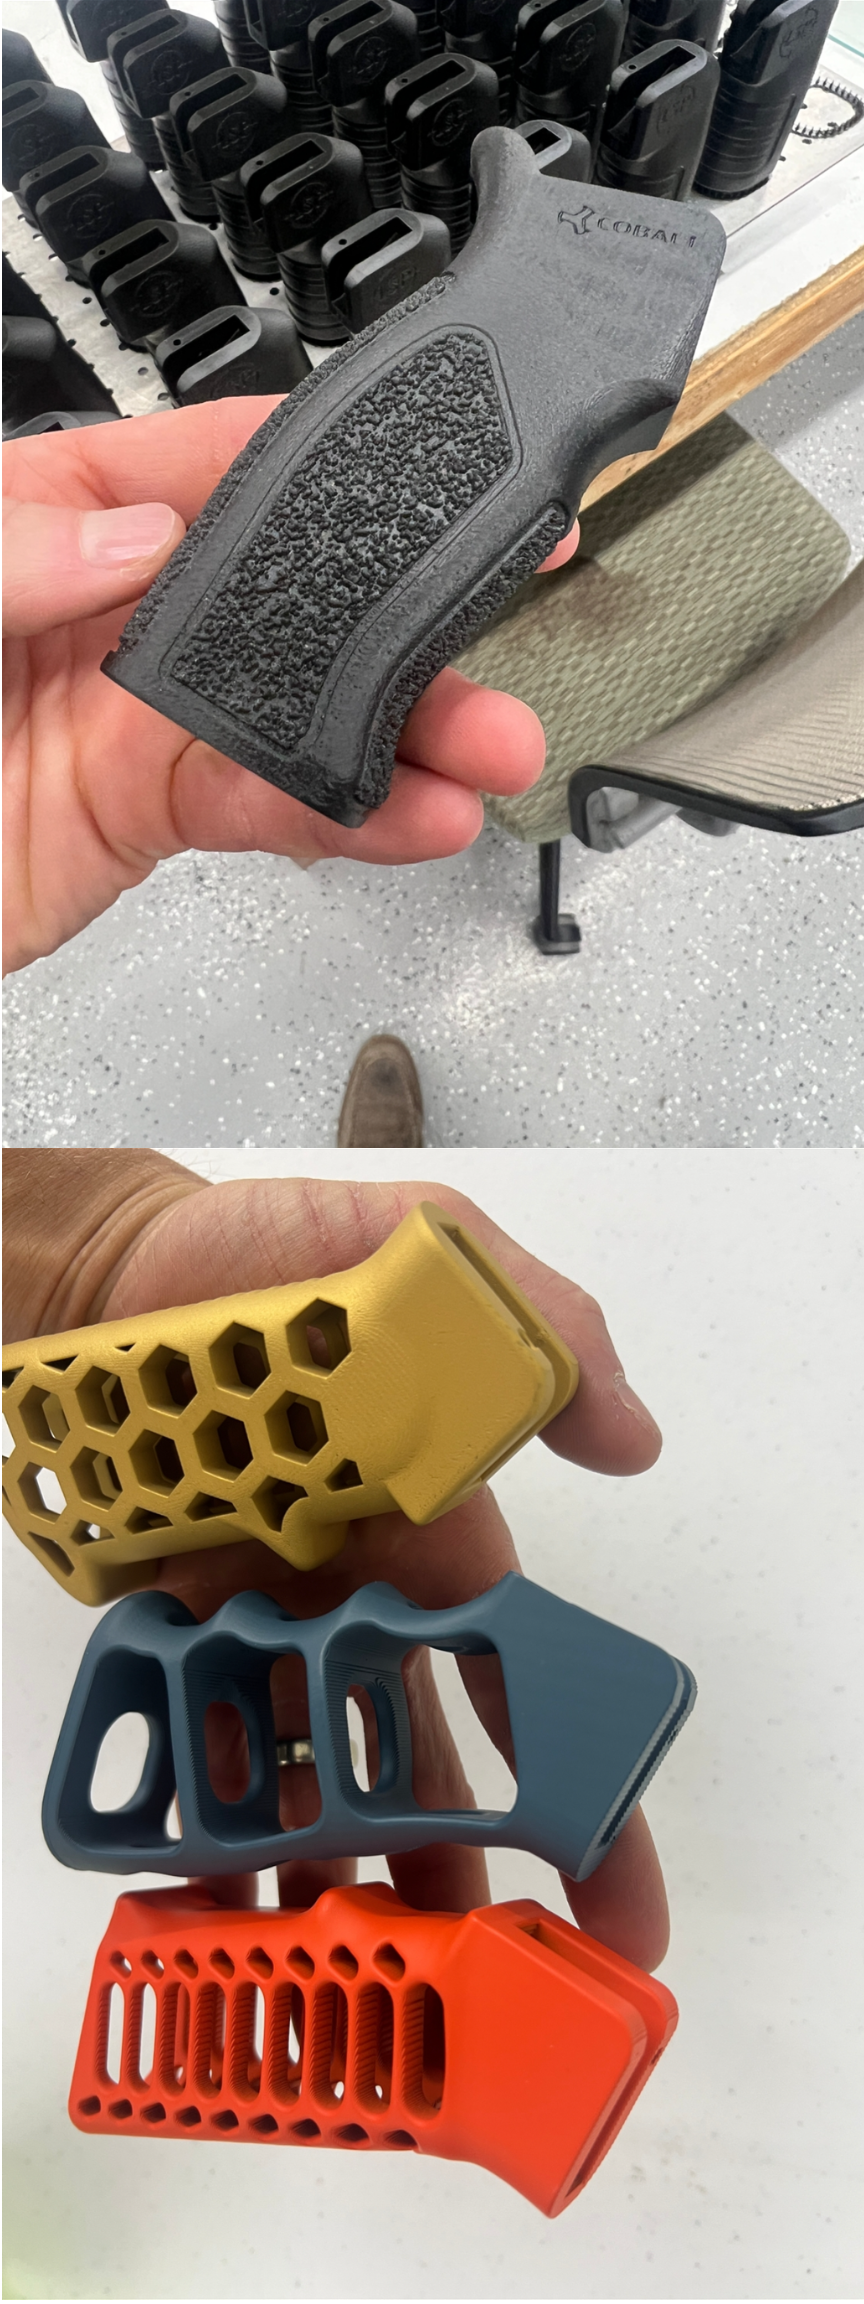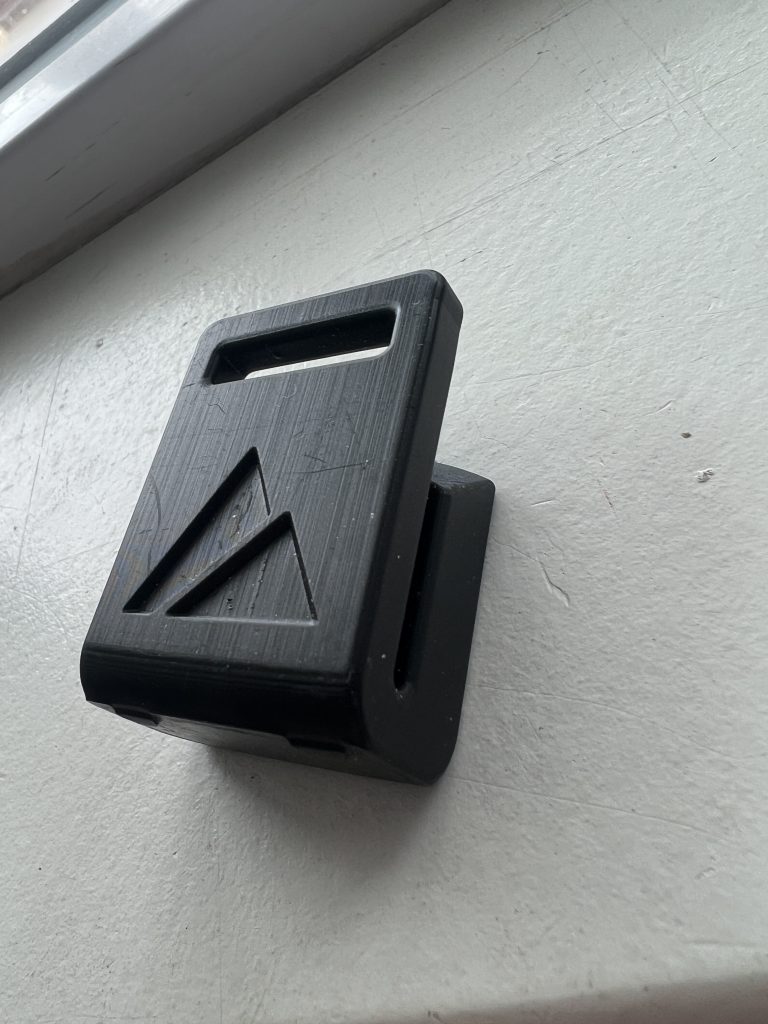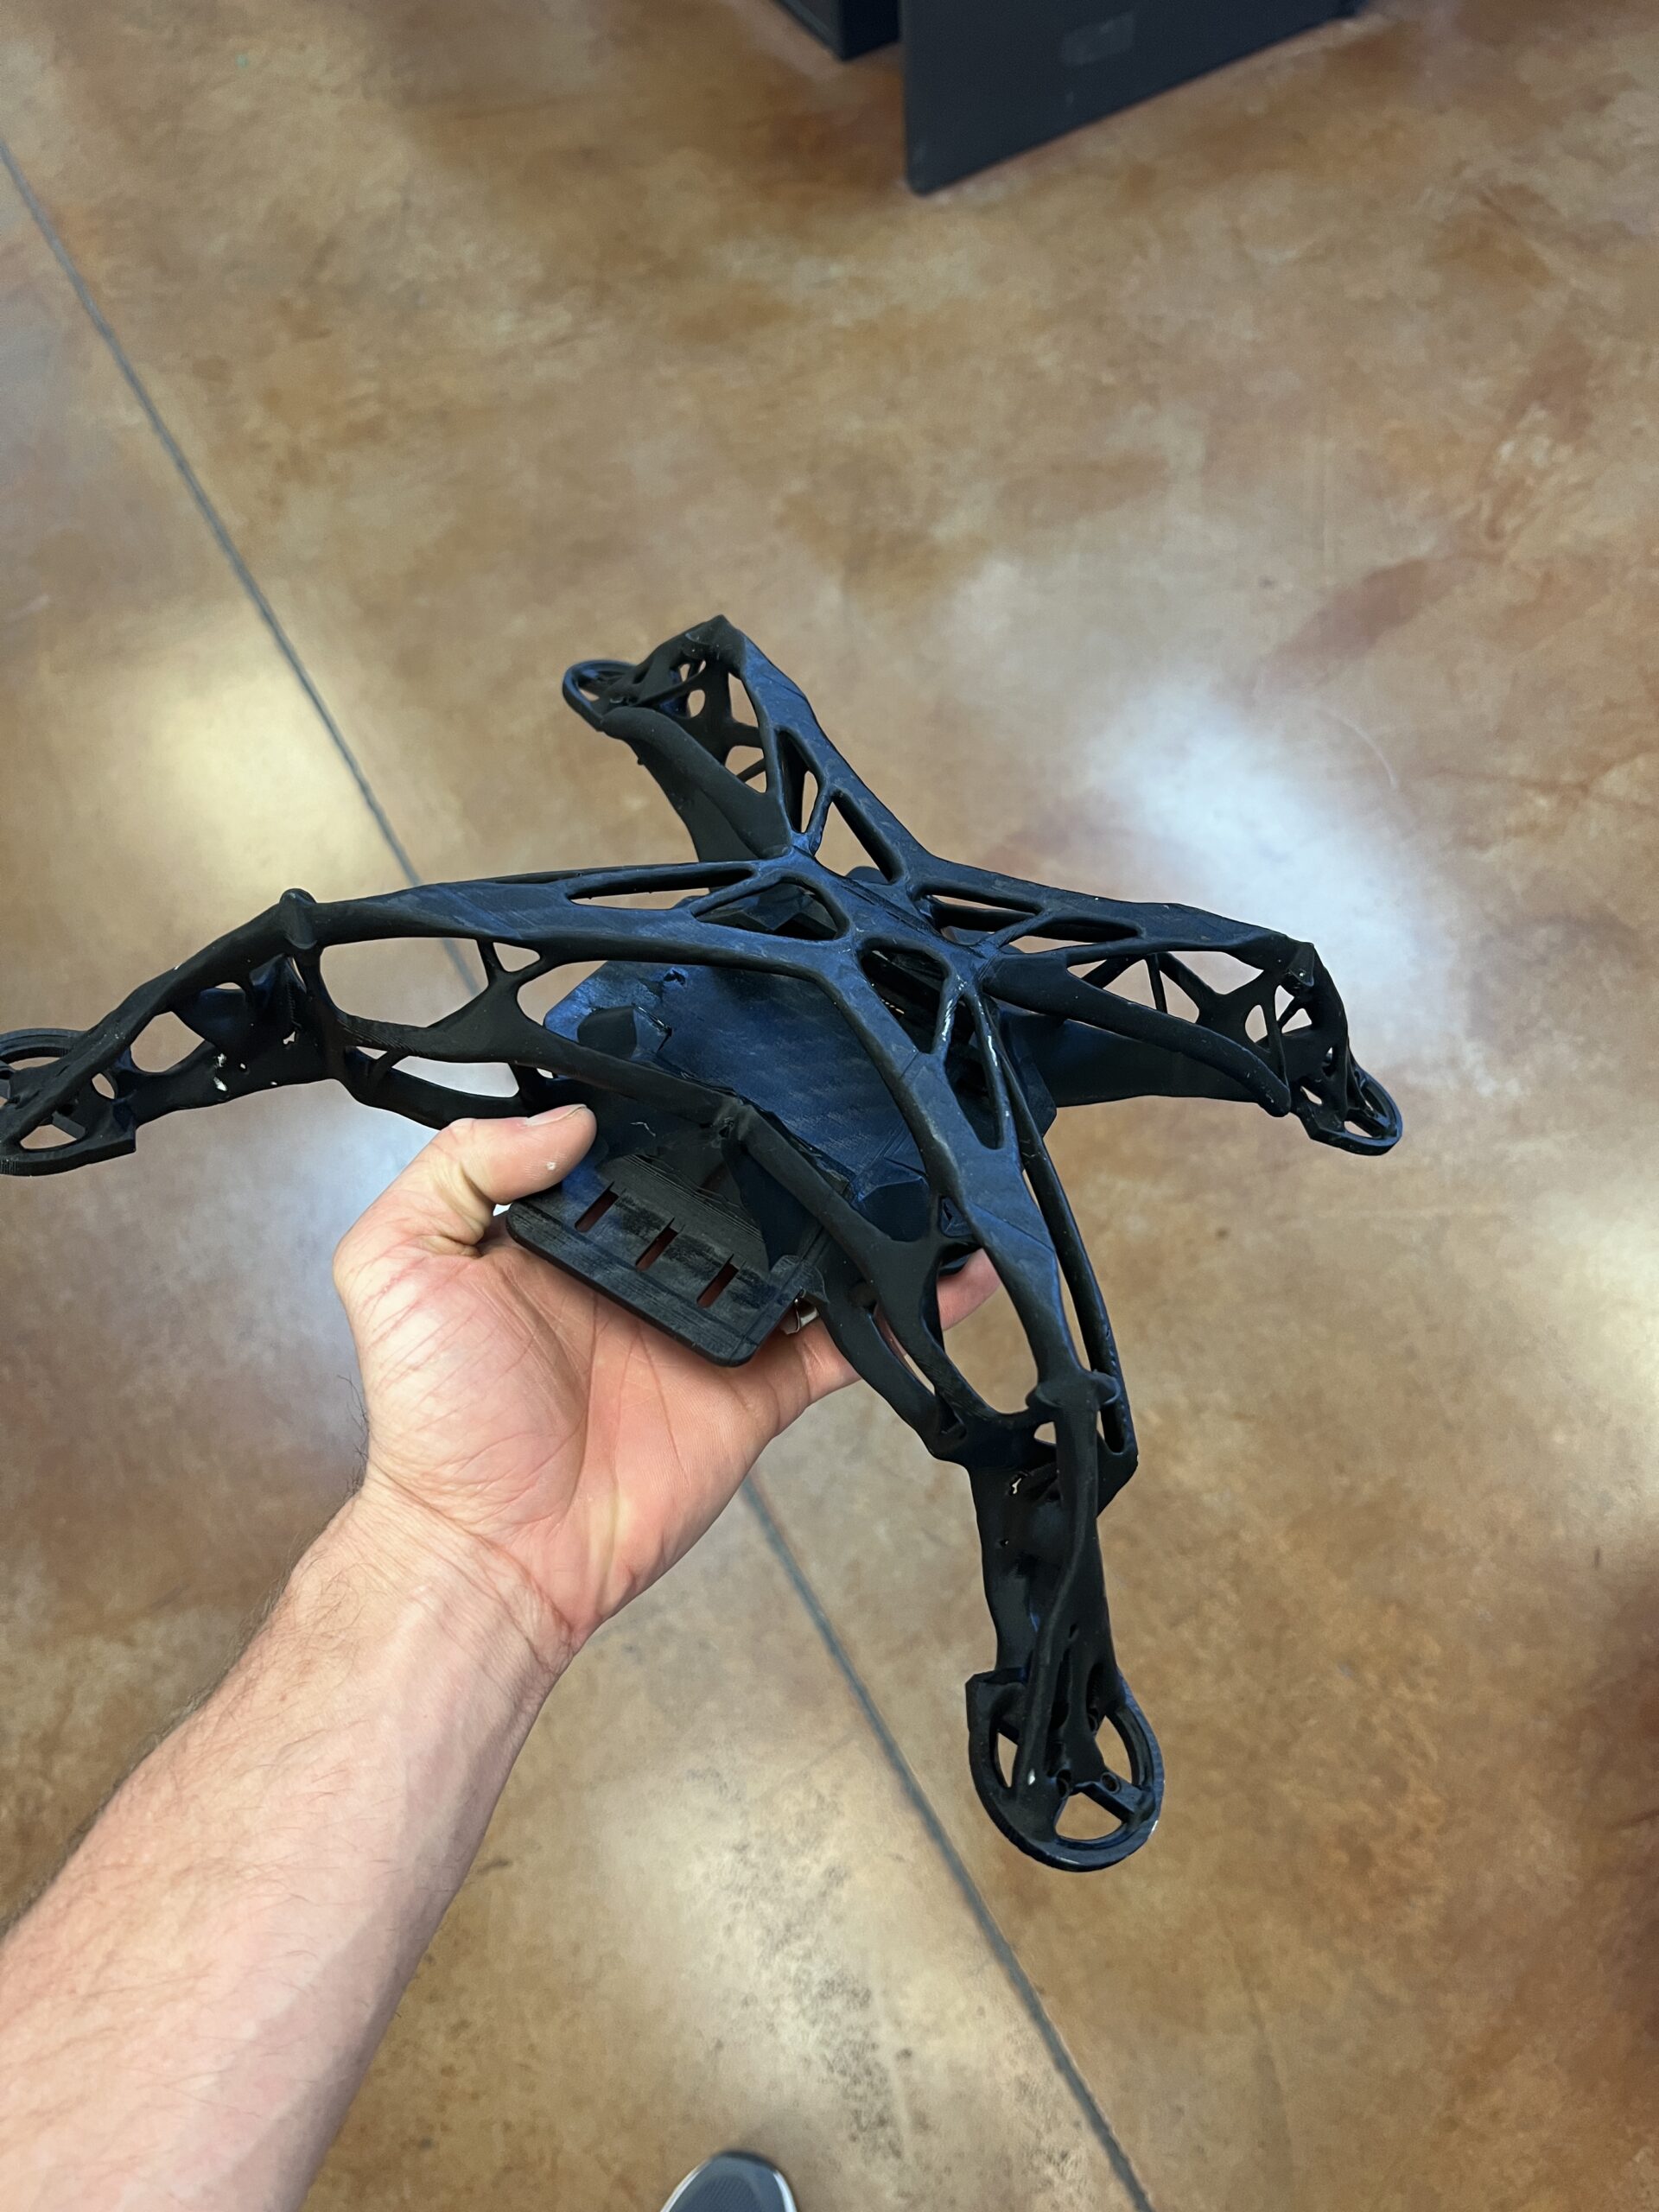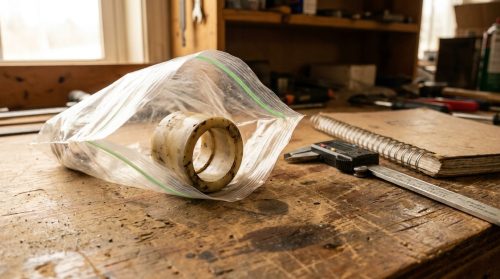
The no-CAD projects never arrive as files. They arrive as objects: a worn bushing in a sandwich bag, a cracked knob wrapped in paper towel, a bracket off a machine whose manufacturer folded years ago. Sometimes it’s a foam shape somebody carved in their garage because that was the only way to show us what they meant. The question is usually a version of the same one — can you make this if all I have is this?
Yes, most of the time. Manufacturing a part without a CAD file is a normal workflow for us, with real hours and real costs attached, and it goes better when you know the shape of it before you ship us the sandwich bag.
The three kinds of projects that walk in the door
Almost everything we quote fits one of three buckets, and the bucket sets the modeling bill:
| Project type | What you have | Modeling work needed |
|---|---|---|
| Print-ready | CAD designed for additive, ideally support-free | Little to none |
| Designed, needs adjustment | CAD drawn for molding, machining, or another process | Targeted rework — wall sections, features, printability |
| No CAD exists | A physical part, a sketch, a photo, an idea | Full modeling from measurement up |
This piece is about the third bucket, the one that feels impossible from the outside and is just a process. If you’re in the first bucket, skip the article and feed your file to the instant estimate tool; it can price the part while you read this.
What “we’ll model it” involves
Reverse-engineering a part starts with measurement (calipers, gauges, and reference features off the physical sample), then a CAD rebuild from those measurements. The rebuild is the important word: the job is to reconstruct the design intent behind the object, because a straight tracing would faithfully copy all the wrong things. A worn bushing measures smaller than it was born. A molded part carries draft angles (the slight taper that let it eject from the mold) that a printed version does not need. Copying the artifact faithfully would mean copying its wear and its old process’s compromises.
The numbers, plainly: most modeling projects run 5 to 15 hours at $150 per hour, and that includes a couple of iterations. Call it $750 to $2,250 for a typical part, more for genuinely complex geometry. Before we start, we scope it — you get an estimate of modeling time up front, and a clear flag if the part is outside what we can reconstruct well.
Copy it, or fix it while you’re in there
The no-CAD moment is also a design opportunity, and skipping it wastes money already spent. Since the part is being rebuilt anyway:
- Drop the mold constraints. Draft angles, uniform-wall rules, and ejector-pin flats exist for molding. A printed part keeps none of that baggage.
- Consolidate. If the assembly was three parts glued or screwed together, it can often print as one.
- Fix what broke. The part came to us cracked for a reason. Thicken the boss, radius the corner, and the replacement outlives the original.
- Right-size the material. The original was whatever plastic the old supplier had. The rebuild gets picked from a materials list matched to how the part failed.
Our quit drawing molded parts piece goes deeper on what changes when the process changes.
What speeds it up
Modeling hours drop when we can see the part’s whole life. Send:
- The physical part, even broken. Especially broken — the fracture tells us where the load lives.
- The mating parts. The bushing means nothing without the shaft and the bore it lives between.
- Photos of the assembly in place, before removal if you can.
- The story. What it does, how it failed, how many you need a year.
- Any old documentation — a faded print, a parts-diagram page, a catalog scan. Partial dimensions beat none.
One honest warning that surprises people: the slowest part of a no-CAD project is usually the mail. We model, print a candidate, ship it, and wait for you to test-fit it against the real assembly. Each iteration loop is fast on our end and slow in transit, so the projects that finish quickest belong to customers who test the sample the week it arrives. A practical shortcut while the sample is in the box: measure the mating features on your end (the bore it presses into, the shaft it rides on) and email us those numbers directly. Fit problems caught on paper never have to ride the mail at all.
When it isn’t worth it
Modeling money should buy something. If the part is a commodity (a standard O-ring, an off-the-shelf clip still in production somewhere), spending $1,000 to reconstruct it is the wrong move, and we will say so. The projects where reverse-engineering pays are the ones where the alternative is worse: the discontinued spare that idles a machine, the 80-a-year part whose original tooling is gone, the product improvement stuck because nobody has the source geometry. In those cases the modeling fee is the price of owning your part again — because when it’s done, you have a CAD file, and every future order, revision, and material change starts from there instead of from a sandwich bag.
The bushing gets measured, rebuilt, printed, and the baler runs. The file goes on the shelf with your name on it.
That file is the real product. The parts are just what it makes.