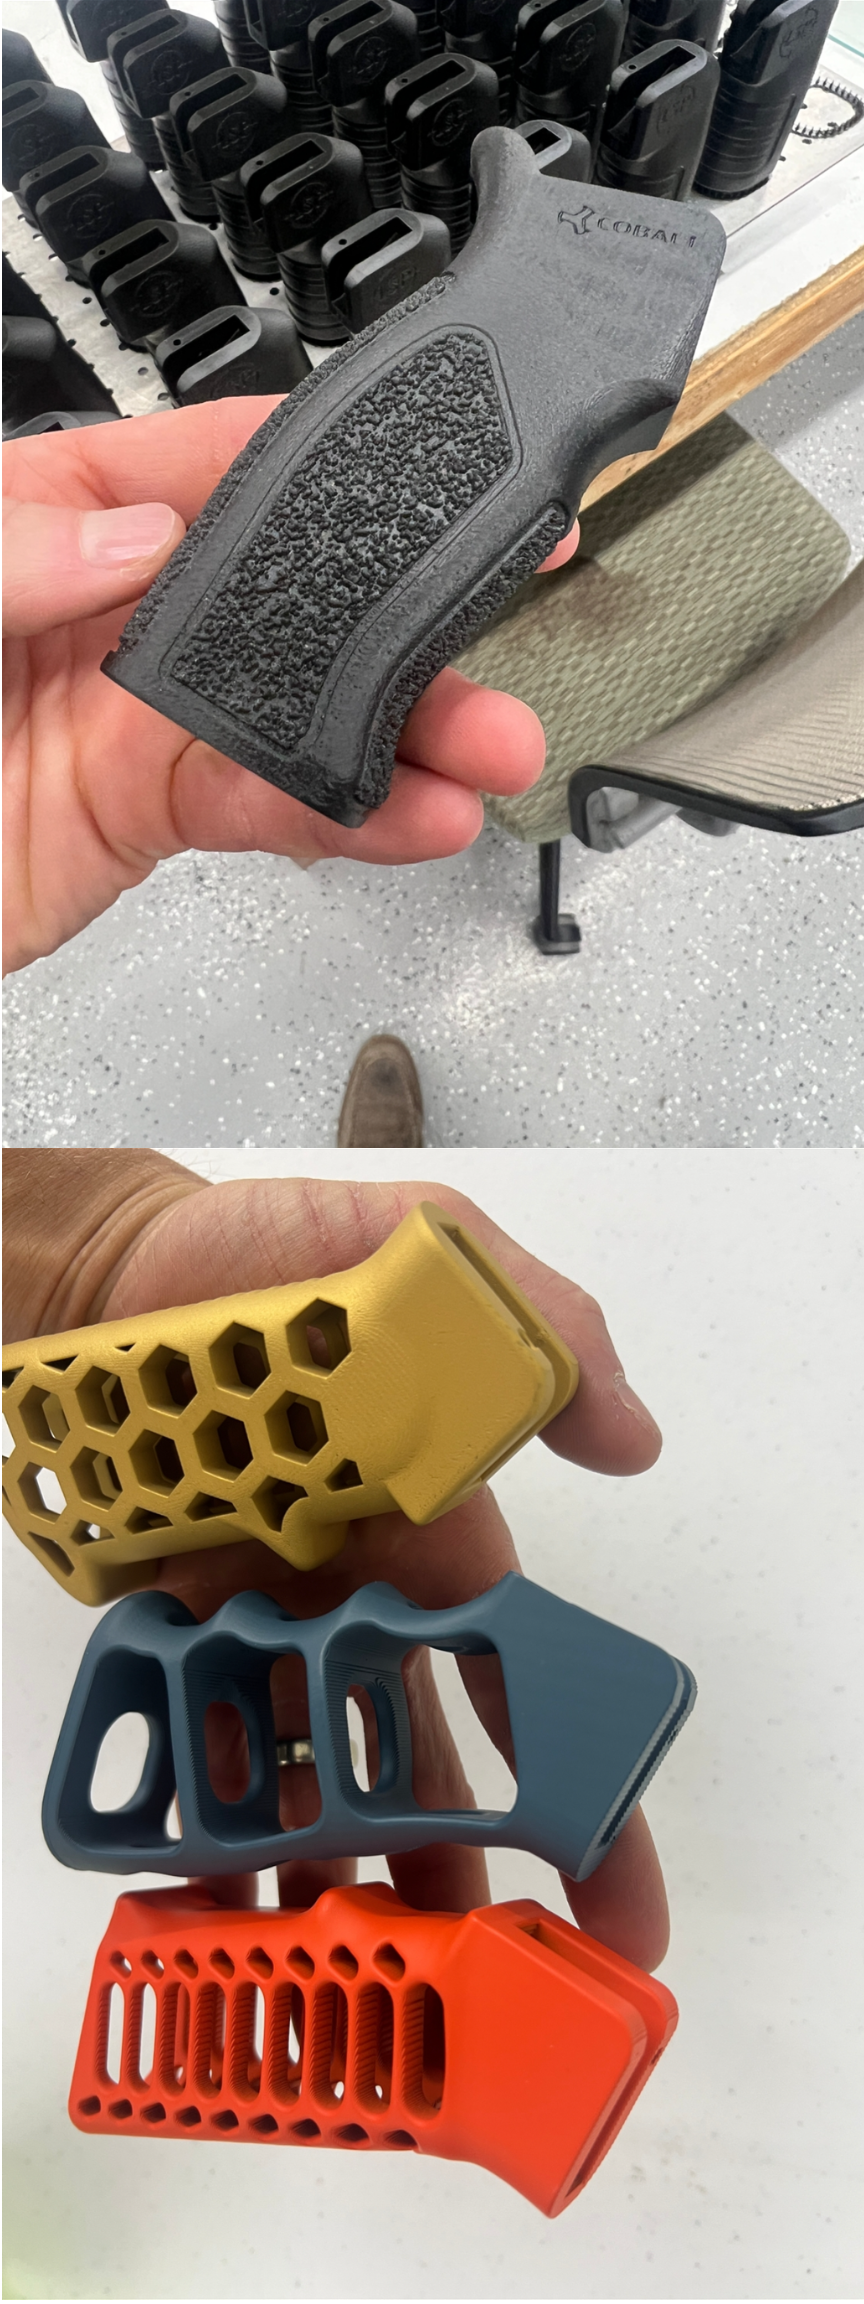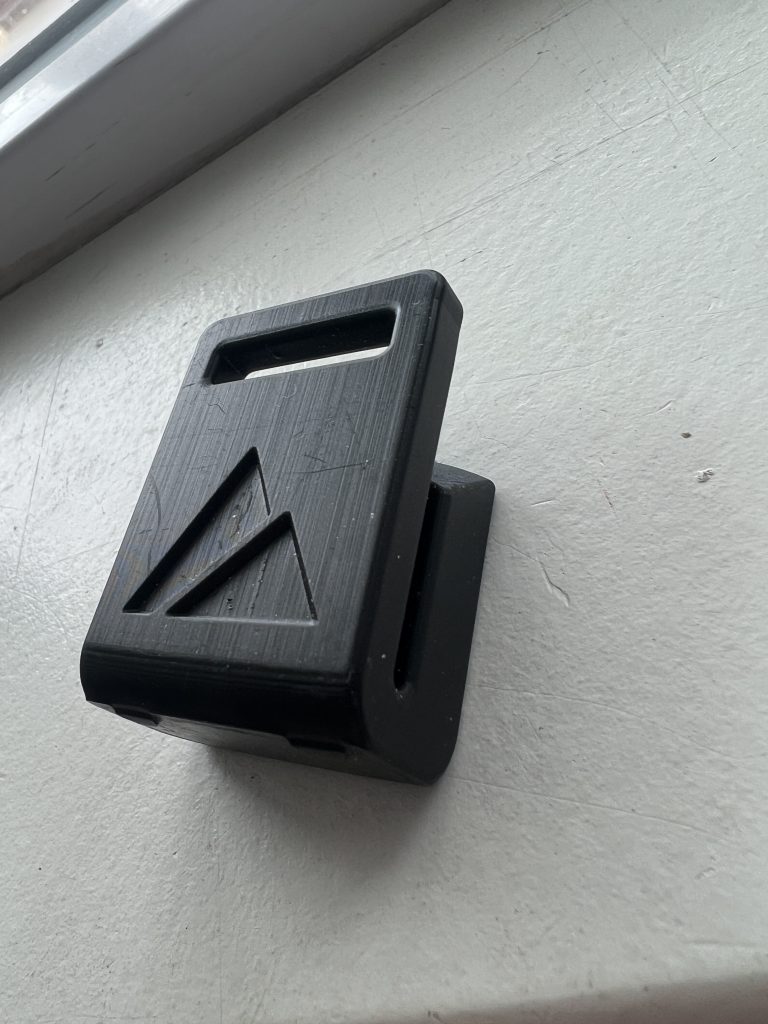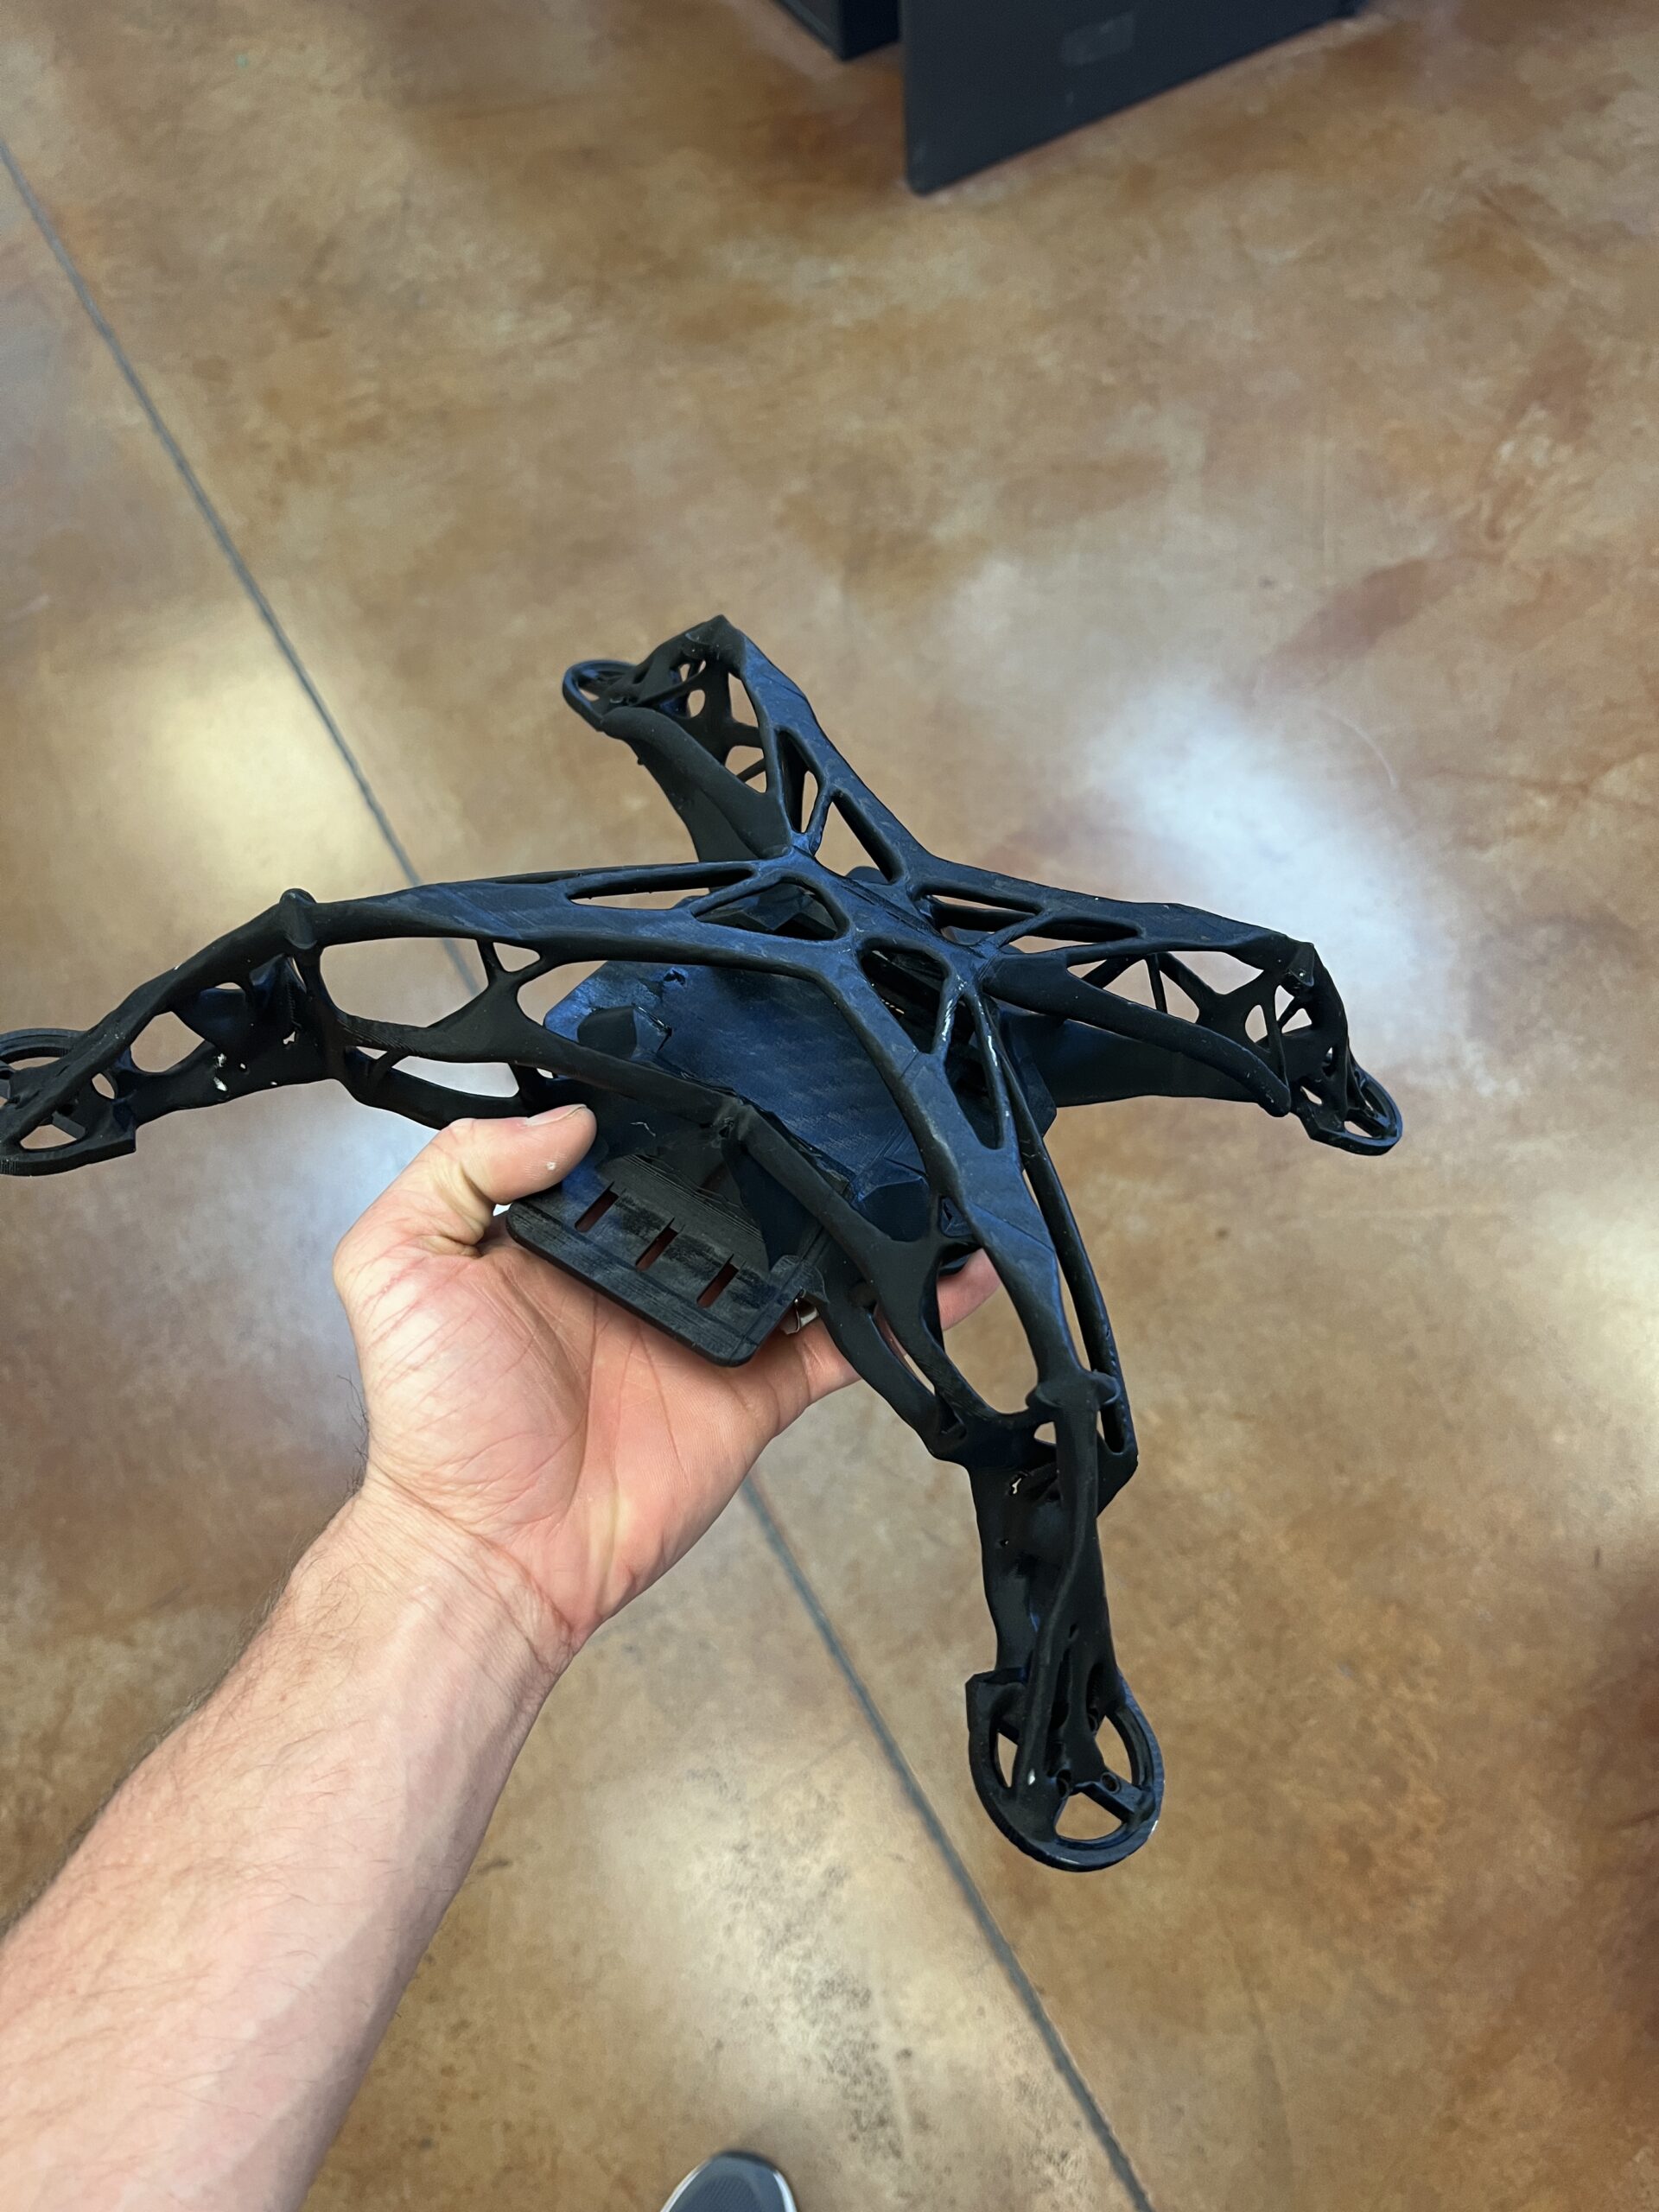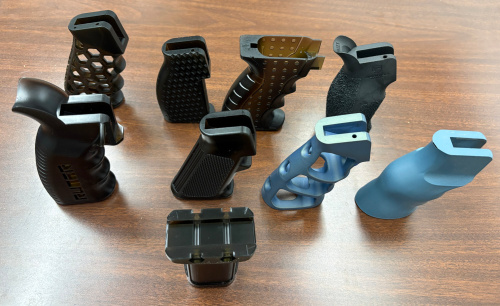
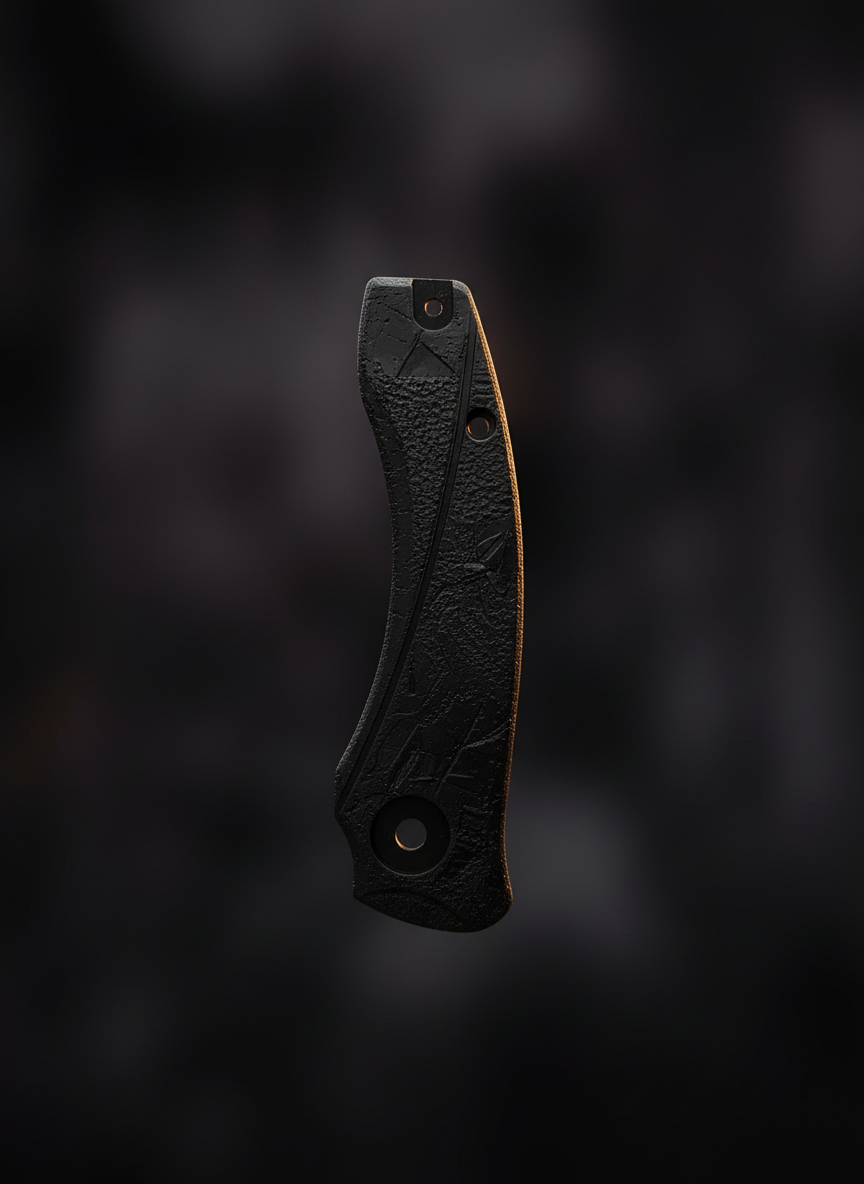
A tote of knife scales came off the Magna — diamond-pattern grip texture in DL110HB resin, customer logo recessed into the bolster. Next to it, a second tote: same machine, different customer, different logo. The crew set up a third file for the night shift before they went home. That’s the part of additive grip production that doesn’t fit on a cost spreadsheet — and it’s most of what makes the math look different than an injection-molded line.
The hard part of printing custom-textured grips at production volume isn’t the print. It’s that many production shops treat the texture as a finishing step instead of as part of the geometry. That single architectural choice — texture-as-finishing versus texture-as-geometry — determines whether the production line for a custom-textured grip touches one station or four, whether design changes are cheap or expensive, and whether the per-unit math works below the 50,000-units-a-year threshold where injection molding starts to dominate.
This is a practical guide to running the additive path on custom-textured grips: when it works, what materials make sense, and where it doesn’t fit. Written for product designers and procurement engineers sourcing branded grips, knife scales, and similar handheld components for outdoor, consumer, and specialty markets.
Why texture is the secret cost in molded grip production
In a traditional molded-grip production line, the part itself is one operation and the surface treatment is another. The base injection mold gives you the shape; a pad-printing station adds the brand mark; a separate texturing operation — etched mold detail, hot-stamp pattern, or laser-engraved feature — provides the grip surface. Each station has its own tooling, consumables, and yield-loss curve.
For a stable product running 250,000 units a year, this architecture is fine. The tooling amortizes, the lines run optimized, and the secondary operations get fast and cheap. For a product running 5,000 units a year with a logo revision once a season, the same architecture is brutal. The pad-print plate has to be replaced for every variation. The molded texture is locked into the tool. A design change triggers tooling work, replating, and inventory drawdown of the existing units that now look slightly different.
What looks on a quote sheet like “the cost of a textured grip” is actually four costs stacked: base mold amortization, pad-print setup per variation, texture mold-detail tolerance, and the per-unit time at three production stations instead of one. Below a clean mid-volume threshold, typically 5,000 to 50,000 units per year for a mid-complexity grip, that cost stack stops penciling.
Treating the texture as geometry, not as finishing
The additive approach starts with a different question: can the texture be the part?
For SLA (stereolithography) printers running at production-grade layer heights — typically 50 to 100 microns — most functional grip textures translate cleanly. Dot-matrix grip patterns, diamond knurls, custom logo recesses, and fine-relief brand markings all live well in that resolution band. Most fine-relief features visible on a CAD viewport at part scale print legibly.
The CAD work is one step further than designing a smooth grip. The designer adds the texture as displaced geometry on the surface, usually procedural noise, a tiled pattern, or a parametric grip pattern. The file ships with the texture baked into the model. No secondary operation, no setup-per-variation, no pad-print plate. The print is the finished part.
The print is the finished part.
What this mostly changes operationally is the number of stations the part touches. A traditional textured grip moves through three to four production cells before it ships. An SLA-printed textured grip touches one printer and one post-process line (wash, cure, light deburr). That collapse from four cells to two is most of the production-cost savings, not the per-cell efficiency.
Picking the material: SLA resin vs SLS nylon
The material decision splits into two main families for grip work: SLA photopolymer resins and SLS (selective laser sintering) nylon powders. They behave differently enough that the part requirements usually pick the process for you. Below is the side-by-side on the two we run most often for grip and panel work.
| Property | DL110HB (SLA, Photocentric Magna) | PA12 (SLS, Formlabs Fuse) |
|---|---|---|
| Supplier | Photocentric | Formlabs |
| Ultimate Tensile Strength | 60 MPa | 50 MPa |
| Notched Izod Impact | 110 J/m | 32 J/m |
| Heat Deflection Temp (HDT) | 80 °C | 171 °C |
| Shore Hardness | 85 Shore D | 75 Shore D |
| Elongation at Break | 14% | 11% |
| Surface Finish | Smooth, cured | Matte, slight powdery feel |
| Moisture Absorption | ~1% short-term | ~1–2%, continues over time |
| Sweet Spot | Held + seen | Held + worked (heat, wear) |
SLA resins like DL110HB deliver a smooth, injection-molded-looking surface straight off the printer. The grip texture comes through cleanly in the cured part. Mechanical properties land in the ABS-like band. For grip and panel work where the part is held but not slammed, this family is the default — particularly when the surface needs to read as finished without secondary post-processing.
SLS nylon trades surface smoothness for mechanical durability over time. The part comes off the printer with a fine matte texture — a slight powdery feel that some operators tumble-finish and others leave as-is. PA12 nylon handles long-term wear and heat better than most SLA resins, though it does absorb moisture over time, which slightly affects dimensional stability. That’s fine for grips that aren’t precision-mating, less ideal for parts that have to index against another component on a tight tolerance.
A useful rule of thumb: SLA wins when the part is held and seen; SLS wins when the part is held and worked. Knife scales, accessory panels, and decorative grip overlays tend to live on the SLA side. Tool grips, field-service handles, and parts that take a beating in use tend to live on the SLS side.
Where this approach isn’t the right answer
The additive path doesn’t replace traditional grip production. It replaces specific bands of it.
For a stable design running over 100,000 units per year, injection molding still wins on per-unit cost — the tooling amortizes into the noise and the press-cycle speed is hard to beat. For grips that require elastomeric or rubberized surfaces — anything with significant give or compression — injection-molded TPE (thermoplastic elastomer) remains the right answer. Multi-material overmolds, where a rigid core ships with a soft grip surface, sit outside additive’s normal envelope and need traditional processes.
The case for additive is specific: custom-branded or custom-textured grips, in annual volumes between roughly 500 and 50,000 units, where design changes are frequent or expected. For high-volume commodity grips with a stable design, the math goes the other way. For elastomeric grips, the process options are different. Saying so honestly is part of using the right tool — the right answer is the one that matches the part.
The knife maker doing 8,000 scales a year across three logo variants doesn’t have a cost problem with injection molding — they have a flexibility problem. The texture mold is locked in tooling. The pad-print plate has to be replated for every logo revision. Each season’s design refresh hits the same wall. Pulled onto an SLA line, the same annual volume runs as one print queue. The texture, the brand, and the surface finish come off the printer with the part. The per-unit number on the spreadsheet may be higher. The annualized cost of running four production cells to land that lower per-unit number is usually higher still. The tote at the end of shift is the finished product.
Related reading
- The real cost of tooling: why mid-volume parts are paying for capacity they don’t need
- Designing for additive: 5 things engineers should send us before they send the CAD file
- Branding as geometry: 5 years of additive production with Alaska Guide Creations
Ready to see what your part would cost? Upload a CAD file for an instant estimate, see what we run on our capabilities and materials pages, or talk to a real person about your project.