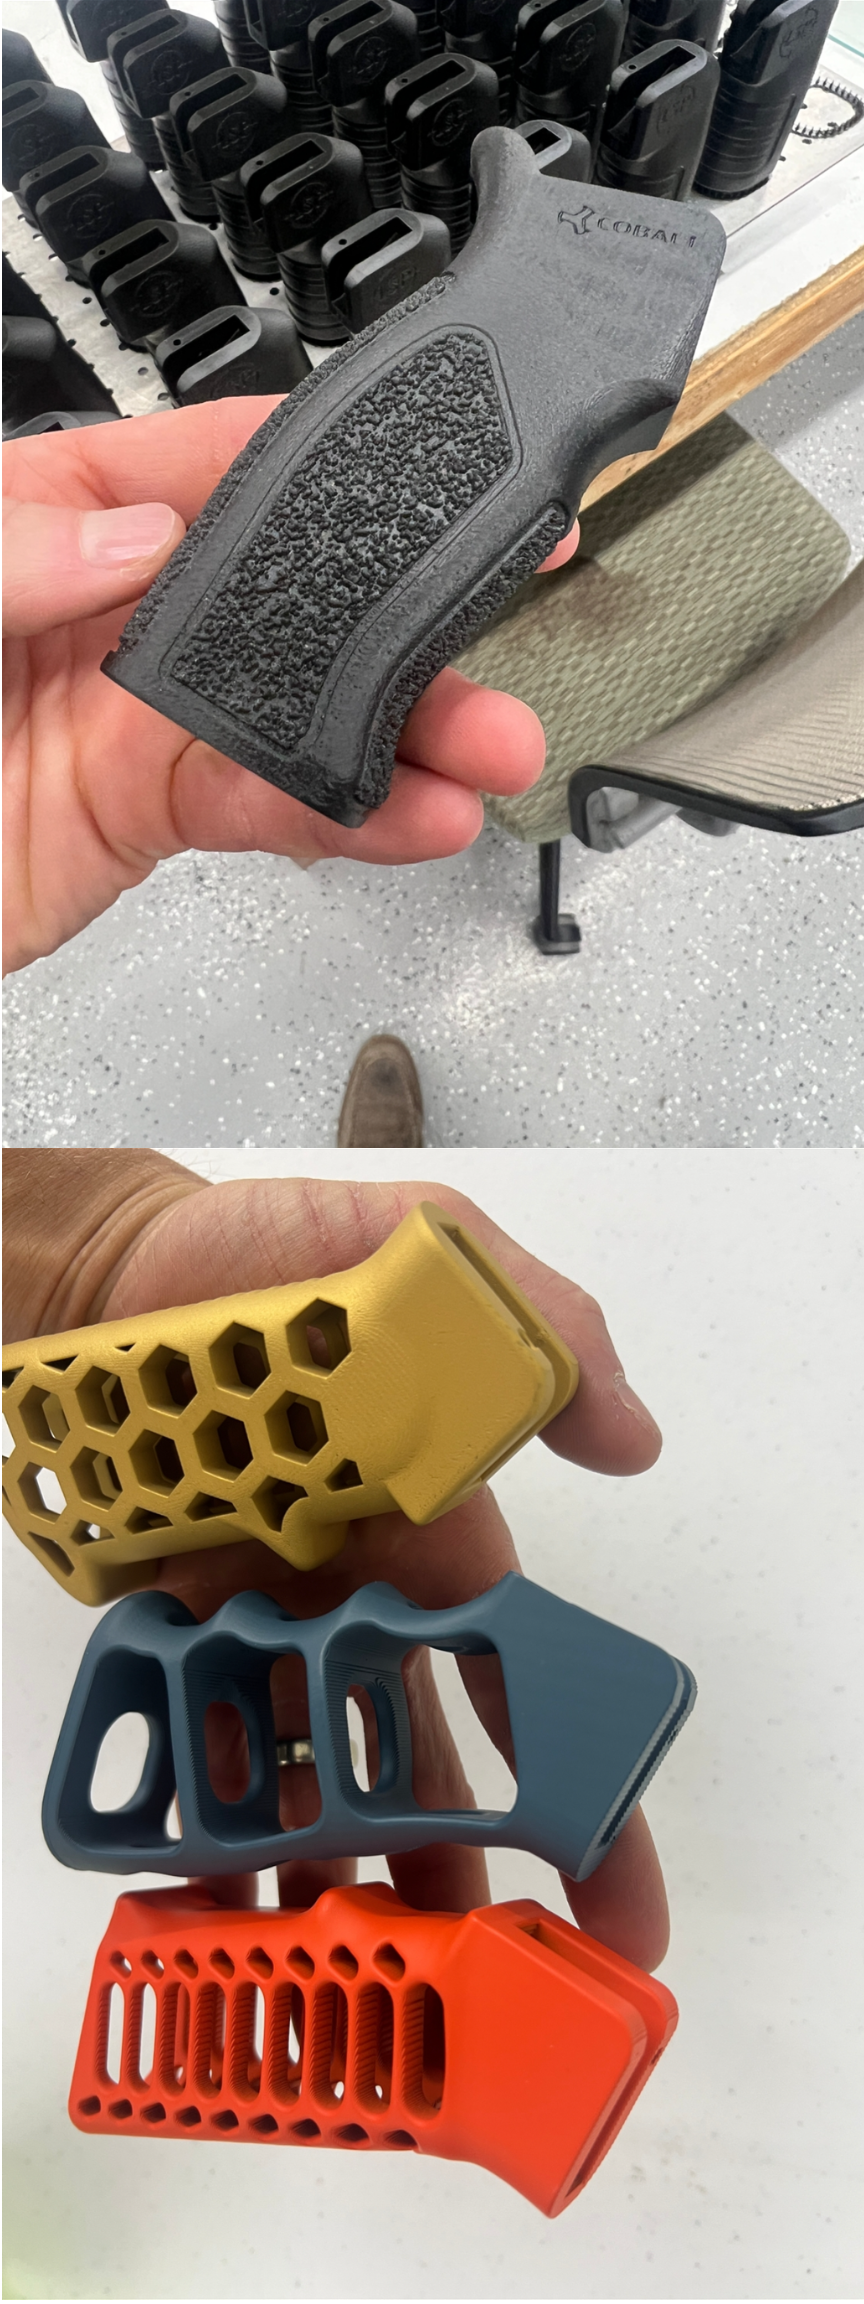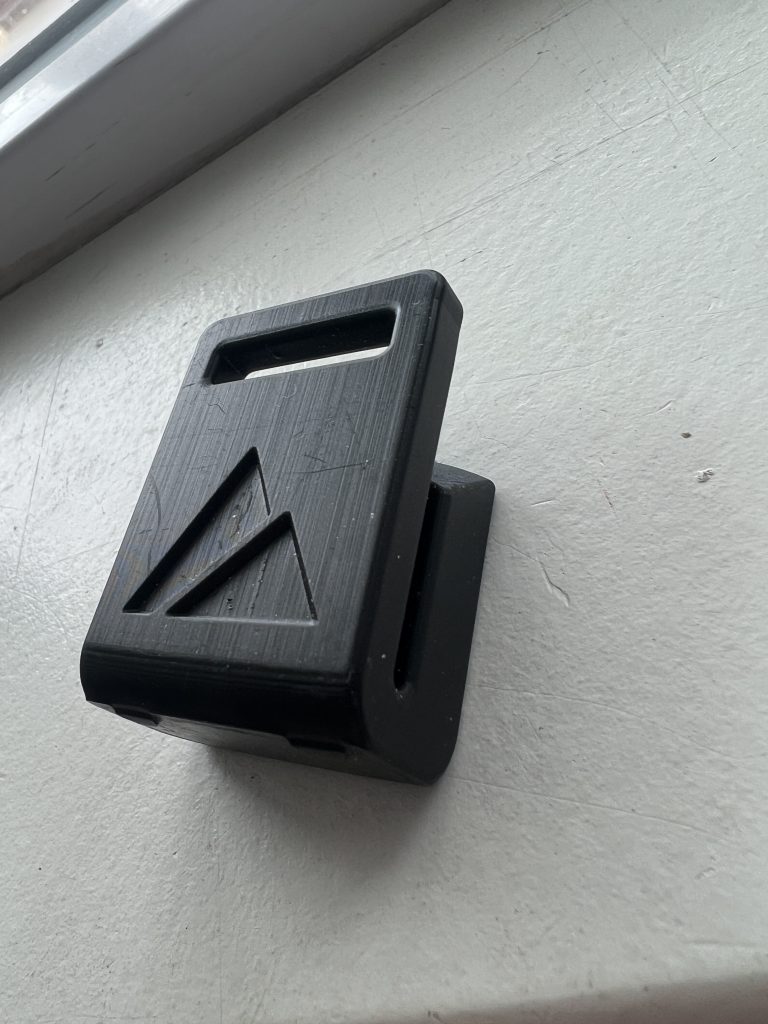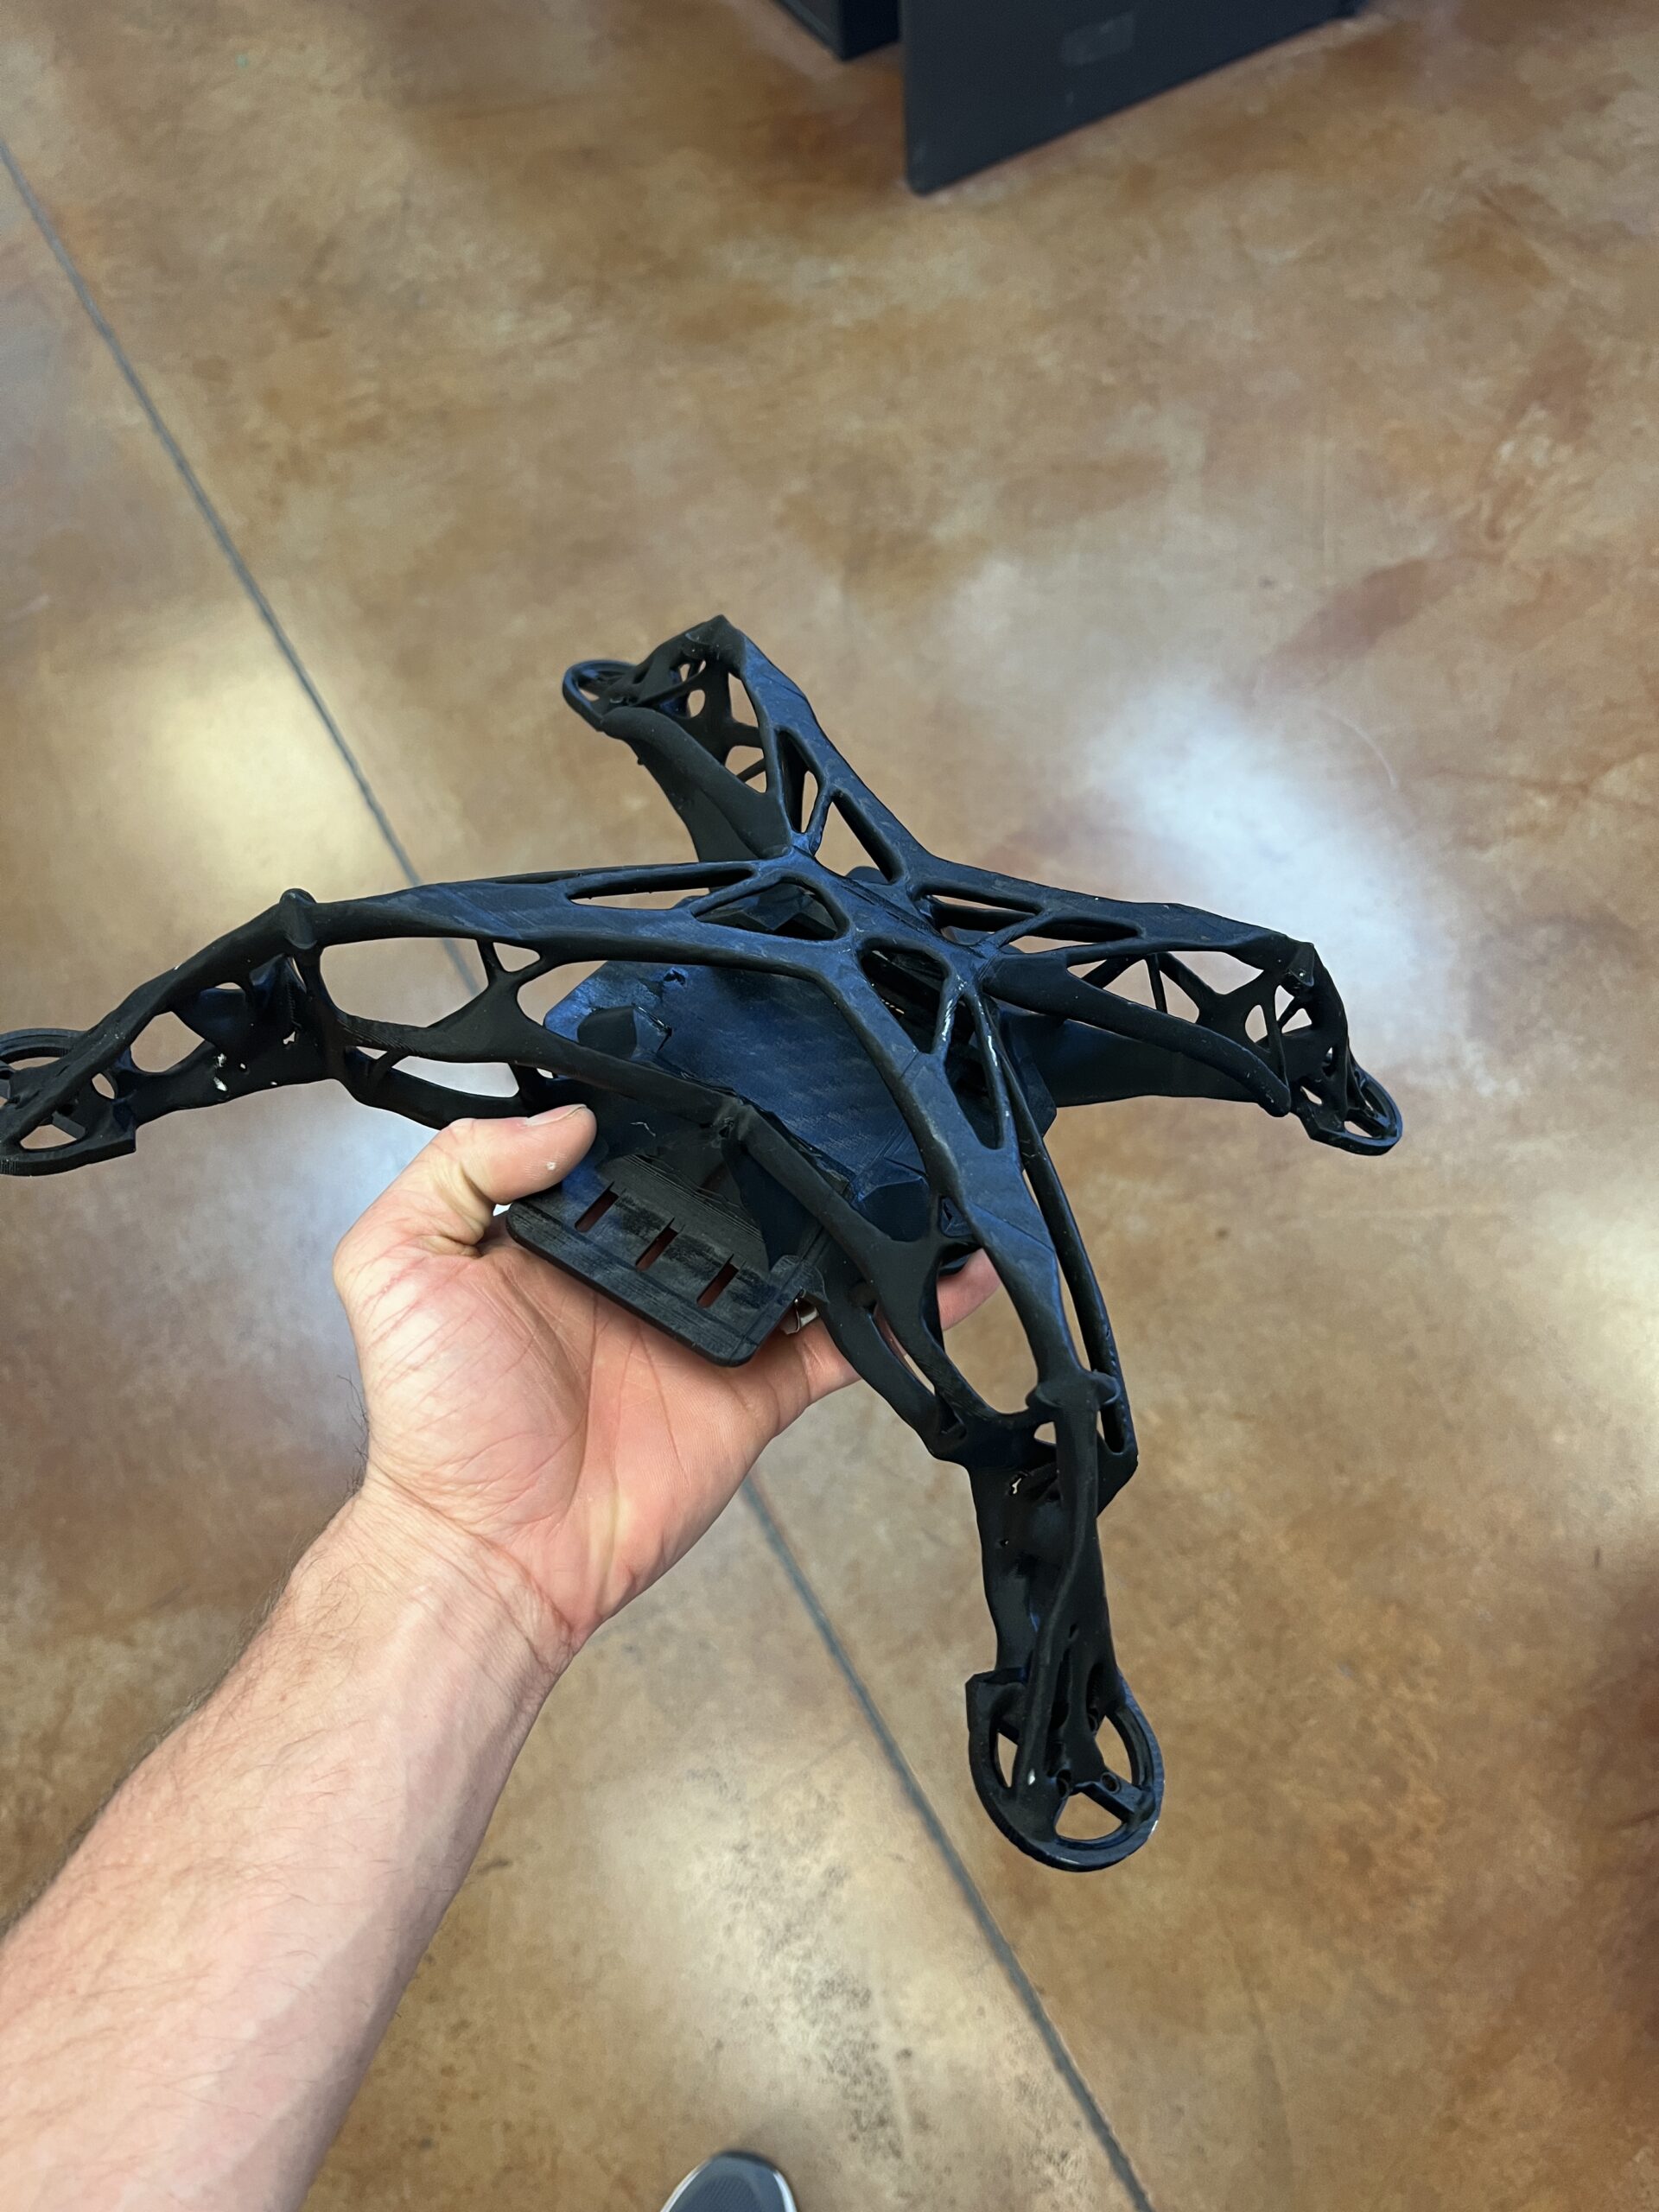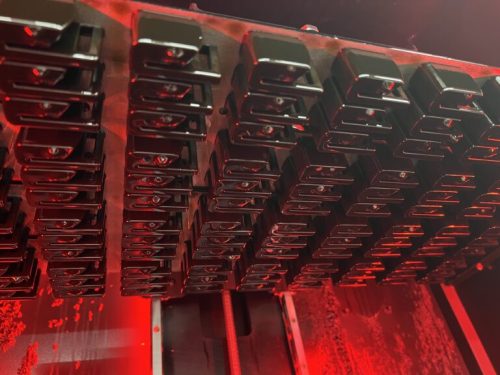
For the last 15 years, the additive-manufacturing industry has been using one acronym to describe two very different jobs. DfAM (Design for Additive Manufacturing) has become the umbrella term for how engineers rethink parts for 3D printing. Most of what has been written about it, though, comes from aerospace groups, national labs, and prototype houses. Those groups optimize one part at a time. On a production floor that ships tens of thousands of parts a month, the unit of optimization is not the part. It is the build plate. And that changes almost everything downstream of the CAD model.
We think that second discipline needs its own name. Call it DfMPAM (Design for Mass Production Additive Manufacturing). It borrows from DfAM the way lean manufacturing borrows from industrial engineering: same roots, different problem. And once you start designing for the plate and the process instead of the part, a lot of the standard DfAM advice needs to be re-examined.
What DfAM was built to solve
DfAM as a body of thinking grew up around single high-value parts. A titanium bracket for a jet engine. A topology-optimized bike stem. A patient-specific implant. In those cases, the part is expensive, the print is long, and the value of squeezing every gram of mass out of the geometry is enormous. DfAM checklists reflect that world: minimize supports, orient for the best surface on the critical face, hollow out anything that can be hollowed out, add lattices where you can, consolidate assemblies into single prints.
All of that is real engineering and none of it is wrong. It is just aimed at a different problem than we solve. When a bracket is a $40,000 flight-qualified part and you are printing one every three days, you can spend an afternoon reorienting it in the slicer to save four grams of powder. When you are running a 12-hour cycle on a Photocentric Magna (an industrial LCD printer) with 800 parts on the plate, that same afternoon costs you a full production shift. The math is different because the unit is different.
What changes when the unit is the plate, not the part
The moment you accept that the build plate is your unit of production, most design decisions have to be re-scored. Nesting density becomes the first-order variable. If a design change lets you go from 600 parts per plate to 720, you did not make the part 20% better. You made the whole factory 20% cheaper on that SKU. That is a different tier of impact than shaving grams.
Orientation stops being a per-part choice and starts being a per-plate strategy. On our LCD (LCD 3D printing) fleet, orientation trades against surface finish, support witness marks, cure exposure across the Z-axis, and how the part behaves during peel. On the SLS fleet, orientation trades against stair-stepping on vertical walls, cleaner horizontal top surfaces, and how parts near the edge of the build chamber shrink compared with parts near the center. In both cases, the “best” orientation for one part is often not the best orientation once you have 400 or 800 of them sharing a plate and a wash cycle.
Takt time (the pace of production per unit) then becomes the honest scoreboard. Total minutes of print, wash, cure, and post-process, divided by parts per plate. That number is what tells you whether a design is production-ready or just print-ready. A part that prints beautifully but requires an operator to spend 90 seconds clipping supports has a very different takt at 100 units than at 100,000.
Post-processing at volume
This is the section DfAM literature almost never covers, and it is where DfMPAM lives. Every design decision you make in CAD gets multiplied by the batch size when it hits post-process. A support witness mark that takes 15 seconds to sand smooth is a 15-second decision on a one-off. On a 10,000-part order, that same decision is 42 hours of labor. Designs that assume a skilled technician with a Dremel do not survive contact with production.
What that means practically: we push hard on self-supporting geometry, support locations that land on faces the customer will never see, tolerances that survive tumbling, and part shapes that nest into wash baskets without tangling. We think about whether a part can be dyed in batch or has to be dyed individually. We think about whether the gates and vents an operator has to break off are in a place their hand can actually reach without a tool. None of that shows up in a DfAM checklist because DfAM was not built for it.
There is a good design test we use internally: if you handed the part and 5,000 copies of it to an operator you have never met, could they finish them in a shift without a written procedure? If yes, the design is production-ready. If no, the design is print-ready, and there is real DfMPAM work still to do.
QC and GD&T for production plates
Quality control in single-part DfAM is straightforward. You measure the part. In production additive, you are measuring a plate — and every position on that plate is a slightly different environment. Corners of a Magna build volume cure differently than the center. Powder-bed machines running PA12 (a nylon powder) have different thermal behavior at the edges than in the middle of the cake. A well-designed production part has GD&T that respects the range of variance the process will actually produce, not the tightest tolerance you could theoretically achieve if you printed it dead-center every time.
That leads to a different QC gate. First-part inspection tells you the design is right. Full-plate sampling tells you the process is right. Serial production runs need both, and the design has to be tolerant enough that a part in position A1 and a part in position H12 both pass. Tight tolerances scattered randomly through a plate are one of the most common reasons a design that “worked in prototype” fails in production. It did not fail because the printer got worse. It failed because the plate math finally caught up with it.
The crossover point
DfAM thinking is the right thinking up to a certain volume. Somewhere between the first 100 and the first 1,000 parts, the calculus flips. Below that threshold, you are still amortizing setup across a small denominator, and squeezing 5% out of a single part’s geometry matters. Above it, the per-plate variables — nesting, orientation strategy, post-process labor per unit, QC gate design — start dominating the total cost of the program. Between 10,000 and 100,000 units, DfAM and DfMPAM stop being related disciplines. They start pulling in different directions.
The clearest sign you have crossed over: your engineering team is spending more time in the slicer, the wash bay, and the dye tank than in CAD. That is not a workflow problem. That is a signal that the design decisions with the highest impact have moved out of the model and into the process. A shop set up for mass production catches that early and hires and tools for it. A shop still thinking in DfAM terms keeps trying to fix a process problem with more CAD revisions.
Naming what is already happening
We are not trying to retire DfAM. It is a real body of knowledge and it will keep being right for the problems it was built for. The industry just needs to be honest that when a production shop talks about “design for additive,” it is talking about a different discipline than what the aerospace and prototype communities mean by the same words. Giving that second discipline a name — DfMPAM — makes it easier for customers, engineers, and shops like ours to have the right conversation from the start.
The shops running real additive production have already been doing this work. We do it every day on the DL110HB (DL110HB, a high-impact rigid resin) parts coming off the Magna line and on the PA12 parts coming off the SLS (SLS, selective laser sintering) fleet. The framework was always there. It just did not have a name. Now it does, and the sooner the industry starts using it, the sooner the design conversations upstream of production start matching what actually happens on the floor.
Ready to see what your part would cost? Upload a CAD file for an instant estimate, see what we run on our capabilities and materials pages, or talk to a real person about your project.